These are inspired by a rosemary olive oil bagel I had from a bakery in the Outer Banks. The rosemary is flavorful and fresh, which is very much welcomed in a bready bagel. The roasted garlic adds even more flavor to the bread, making for a simple yet interesting bagel that will quickly become your new favorite.
Bake Notes
- These were so good, my boyfriend ate 4 in one sitting and said they are his favorite thing I’ve ever made.
- Once roasted, the garlic should be soft enough that you can squeeze the entire head and only the cloves will come out. Discard the peel/skin and use the smashed cloves in the bagel dough.
- I roasted an extra head of garlic and mixed a few cloves into softened butter with some flaky salt to spread on these bagels. 10/10 would recommend.
- I also ate one with feta and fig jam. The fresh and herby flavor from the rosemary and garlic take these from ordinary bagel to perfect vehicles for endless savory and sweet combos (think soft cheeses, honey, jams, tomato, etc.).

Roasted Garlic and Rosemary Bagels
Description
These roaster garlic and rosemary olive oil bagels are so simple but taste gourmet. Herby, fresh, and flavorful, they’ll quickly become your new favorite bagel.
Ingredients
- 2 heads garlic
- 2 tbsp chopped fresh rosemary
- 2 tsp active dry yeast
- 4.5 tsp sugar
- 1/2 cup warm water
- 3.5 cups bread flour
- 2 tsp kosher salt
- 1/2 cup + 3 tbsp warm water
- 1 tbsp olive oil
- 3 tbsp honey
Instructions
- Preheat the oven to 375 F.
- Chop the tops of the heads of garlic while keeping the bottoms in tact (peel on).
- Coat a baking dish (I used a square baking dish) with olive oil. Place the heads of garlic cut-side up in the dish. Coat with olive oil and season with salt and pepper.
- Wrap the baking dish in foil and bake for 40 minutes.
- In a small bowl, add 1/2 cup warm water, 2 tsp yeast, and 4.5 tsp sugar. Let sit for 10 minutes; your yeast should be bubbly, moving, and clearly alive. Stir to combine and dissolve the sugar.
- In a large mixing bowl, add the flour and salt and whisk to combine. Make a well in the center and add the yeast mixture, the remaining warm water (1 cup + 3 tbsp), and the olive oil.
- Use a wooden spoon or your hands to stir the mixture together until it forms a shaggy dough. Knead the dough in the bowl for a few minutes until it comes together to form a cohesive dough balls that is very firm but not dry (no dry spots of flour). If needed, add a one tablespoon of water more at a time until there are no dry spots. The dough should require some muscle to knead, it is not a loose and pillowy dough.
- Turn it out onto a floured work surface and knead for 3 minutes, until the dough is pretty smooth. Squeeze one head of roasted garlic onto the dough and sprinkle 1 tbsp of chopped rosemary over top. Knead for 3 more minutes to distribute throughout the dough. Squeeze the other head of roasted garlic over top and sprinkle the other tbsp of rosemary over top. Knead for 3-5 more minutes, until the dough is very smooth, slightly elastic, and again, very firm. Work in as much of the flour from the floured surface as possible.
- Coat a large bowl with a light layer of olive oil. Put the dough in the bowl and cover it tightly with plastic wrap and a then place a clean kitchen towel over it. Let the dough rise in a warm place for 1 hour or until it has doubled in size (the timing depends on the temperature of your house).
- Punch the dough down and let it rest, covered, for another 10 minutes.
- Divide the dough into 8 (roughly equal) pieces. I like to pat the dough into a rectangle, cut it in half, and cut each half into 4 pieces.
- Roll each piece into a tight ball. I hold the dough ball in my left hand and use the pinky edge of my right hand to scoop and press the underside of the dough while rotating it until the bottom seams come together.
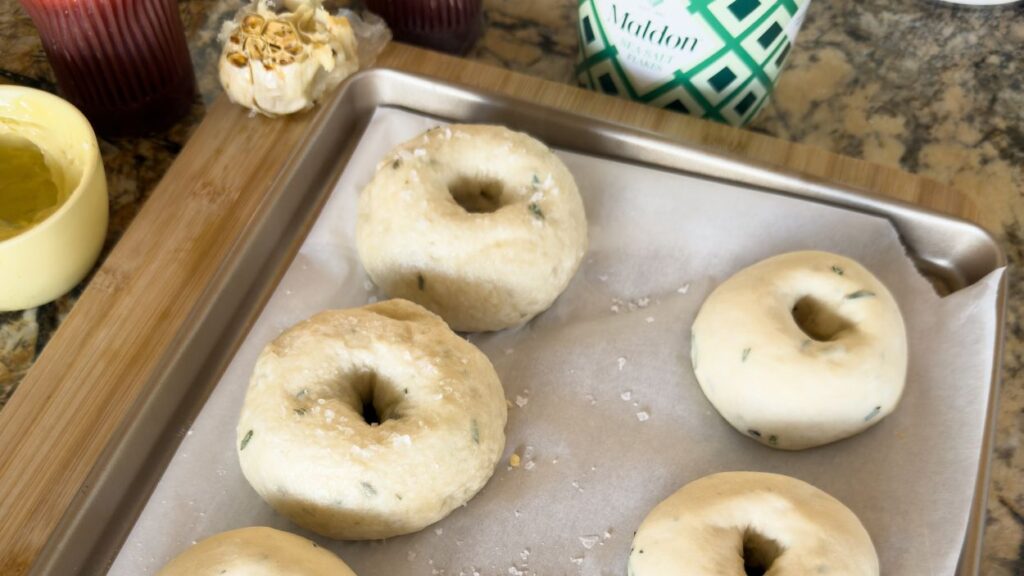
- Use your index finger to poke a hole in the center of one ball. Insert your other index finger as well to widen the hole, and rotate your finger around until the hole is the desired size (they tend to shrink, so you can make it bigger than it would look in a finished bagel).
- Place the bagels onto a parchment-lined baking sheet and cover with a clean dish towel. Let rest for 10 minutes.
- Preheat the oven to 425 F.
- Bring a large pot of water to a boil. Once boiling, add 3 tbsp of honey.
- Add two bagels at a time to the boiling water. They should rise to the surface quickly. Let boil on one side for 2 minutes, flip, and boil for 2 more minutes on the other side.
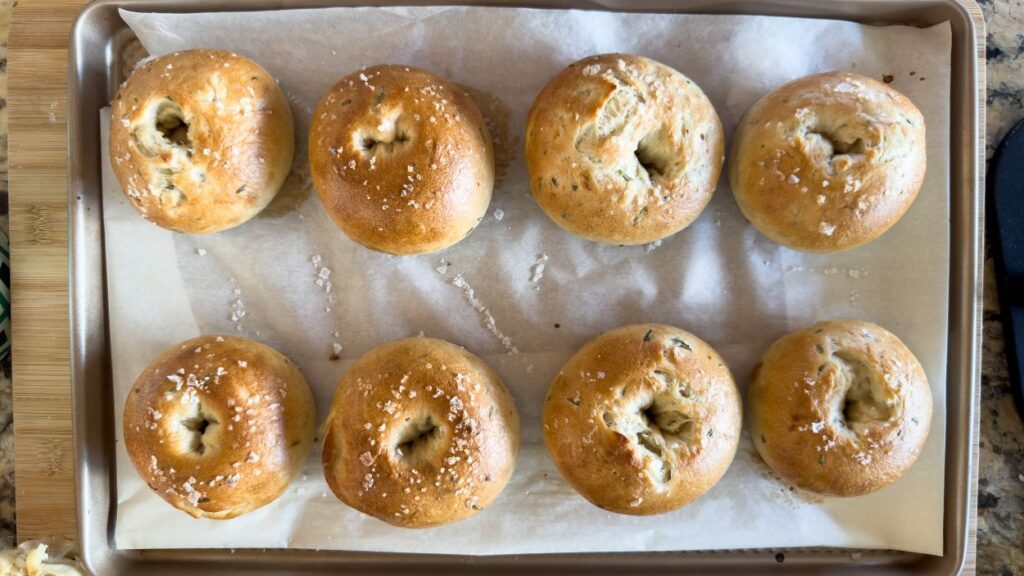
- Use a slotted spoon to remove each bagel from the water, and place them on a parchment-lined baking sheet. Quickly sprinkle the tops with flaky salt.
- Bake the bagels for 20-25 minutes, until the tops are a deep golden brown.

Why Do You Boil Bagels Before Baking Them?
Boiling bagels before baking them essentially kills the yeast so that the bagels don’t rise as much in the oven, which would result in a light and fluffy bread similar to a dinner roll. Bagels should be more dense and chewy.
Customizing Your Bagels
This is a classic bagel dough recipe; you can add other ingredients as mix-ins, if desired. You can also top them with whatever you prefer in place of flaky salt (everything bagel seasoning, sesame seeds, etc.).
More Breakfast Recipes
- Try a banana bread with higher protein than your usual loaf
- Toaster strudel-inspired raspberry cruffins are a bakery worthy treat
- Everyone needs a go-to sourdough discard pancake recipe

